
Integrate the development process of the Android Studio Template into the Android Studio Plugin, only one-click will be able to make the current file as a Template.
StatementAndroid Studio templates include the following three, here is the third Multi Template. Before reading this article, Acquiescence you know the template, know why to use it, if it is not clear what it is, you can check the relevant information online, of course, you can also click here to see the peer to its evaluation
- Live Template:Code snippet level
- File Template:Single file level
- Multi Template:Multiple file levels (hereinafter referred to as
Android Studio Template)
WHAT
TemplateBuilder is an AS plug-in that can help us to quickly generate Android Studio Template, through a file to configure the template to improve the way through the plug-in to achieve, for simple template production, only one button can be generated.
HOW
Install
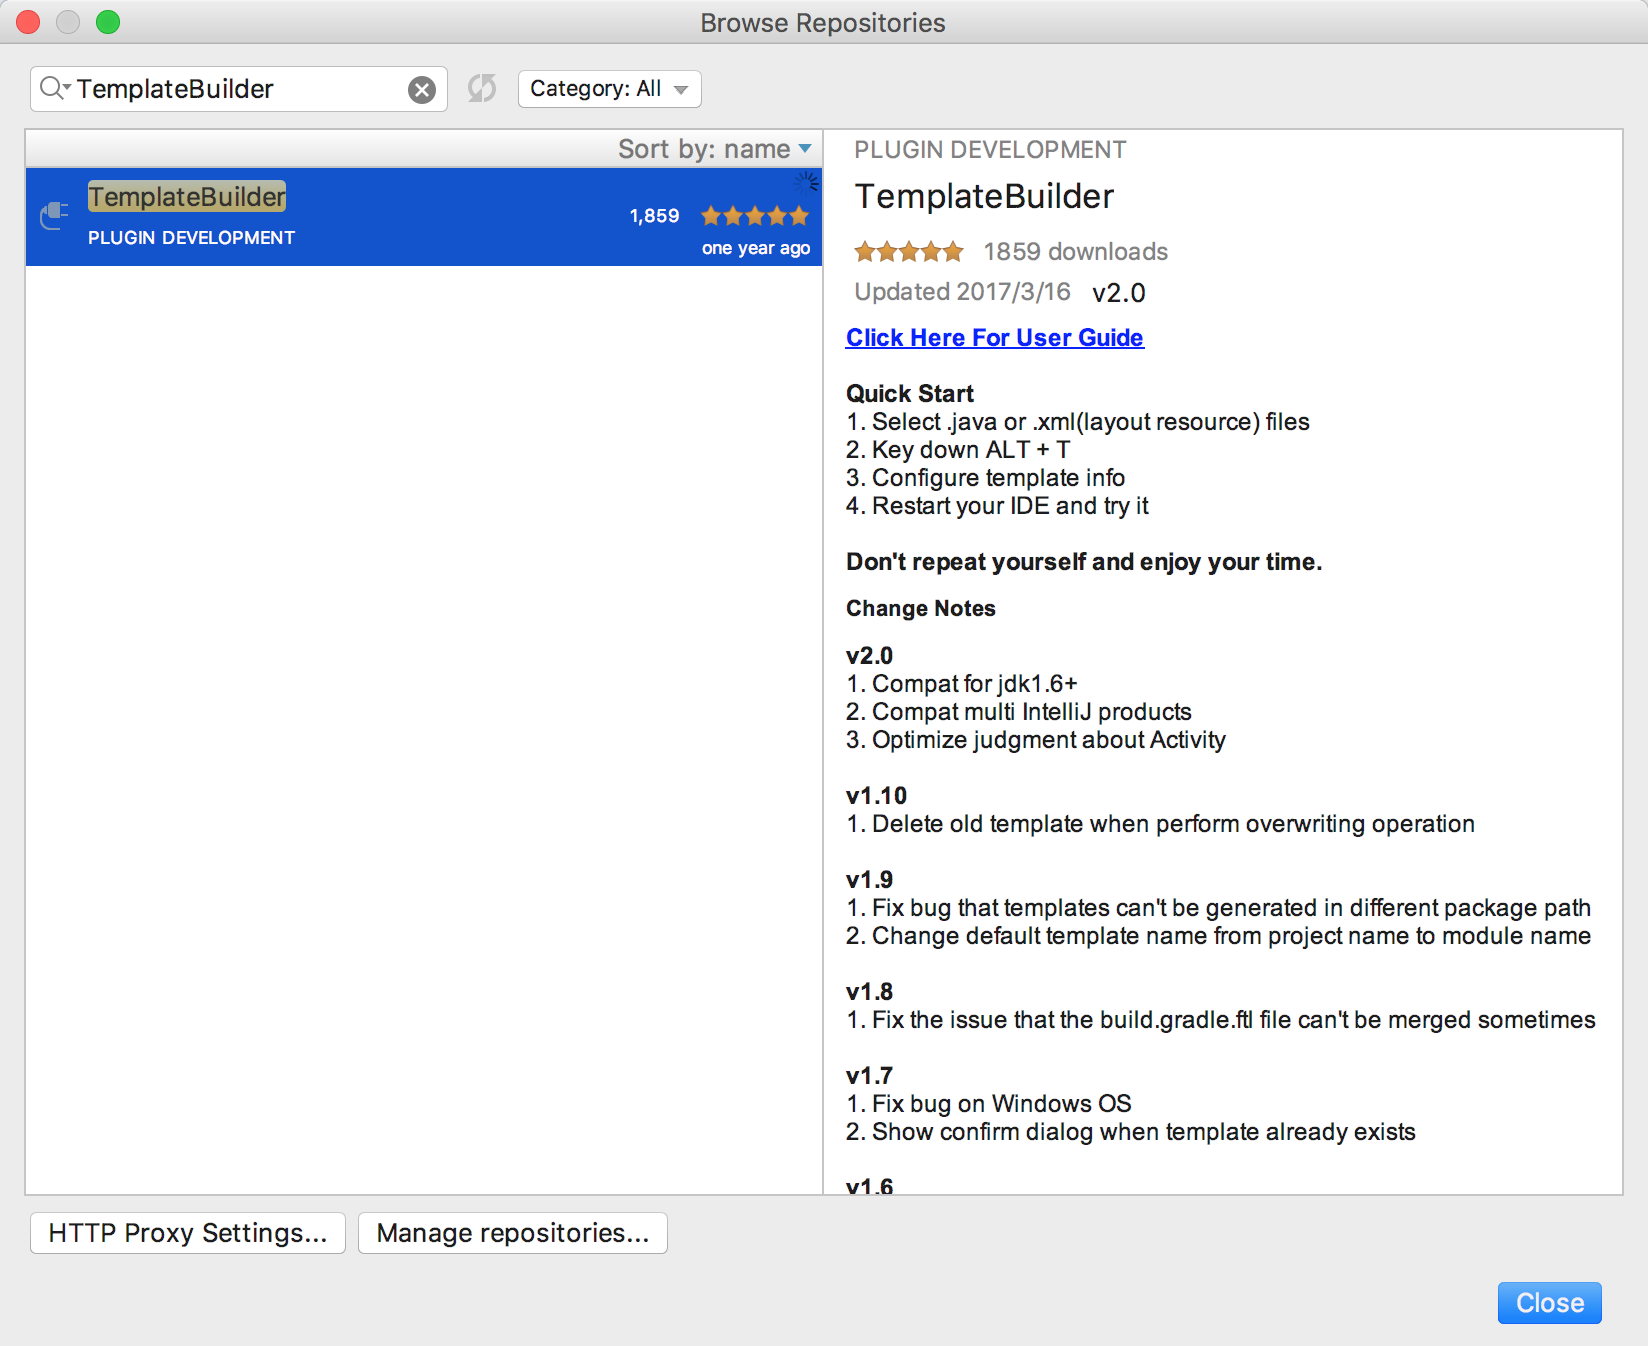
Open Android Studio, Preferences – Plugins – Brown Repositories, search TemplateBuilder and download, then restart the IDE and try.
Instructions
Gif effect
First directly show the Gif presentation effect, respectively, corresponding to the template export and import
Export: Select the file or folder to be exported, press ALT + T, in the pop-up interface to change the template name (MVP Test) and description, then click Finish, and then restart the IDE;
Import: Select a package, press the Command + N key, enter the template category name (the default is the computer user name), select the MVP Test template to import.
Detailed explanation
Here we take an example of the extraction of an MVP template, first select the need to create a template for the template file (if you need to select a package below all the files, you can directly select the package), and then press the shortcut ALT + T to start the plug, you can see the following interface
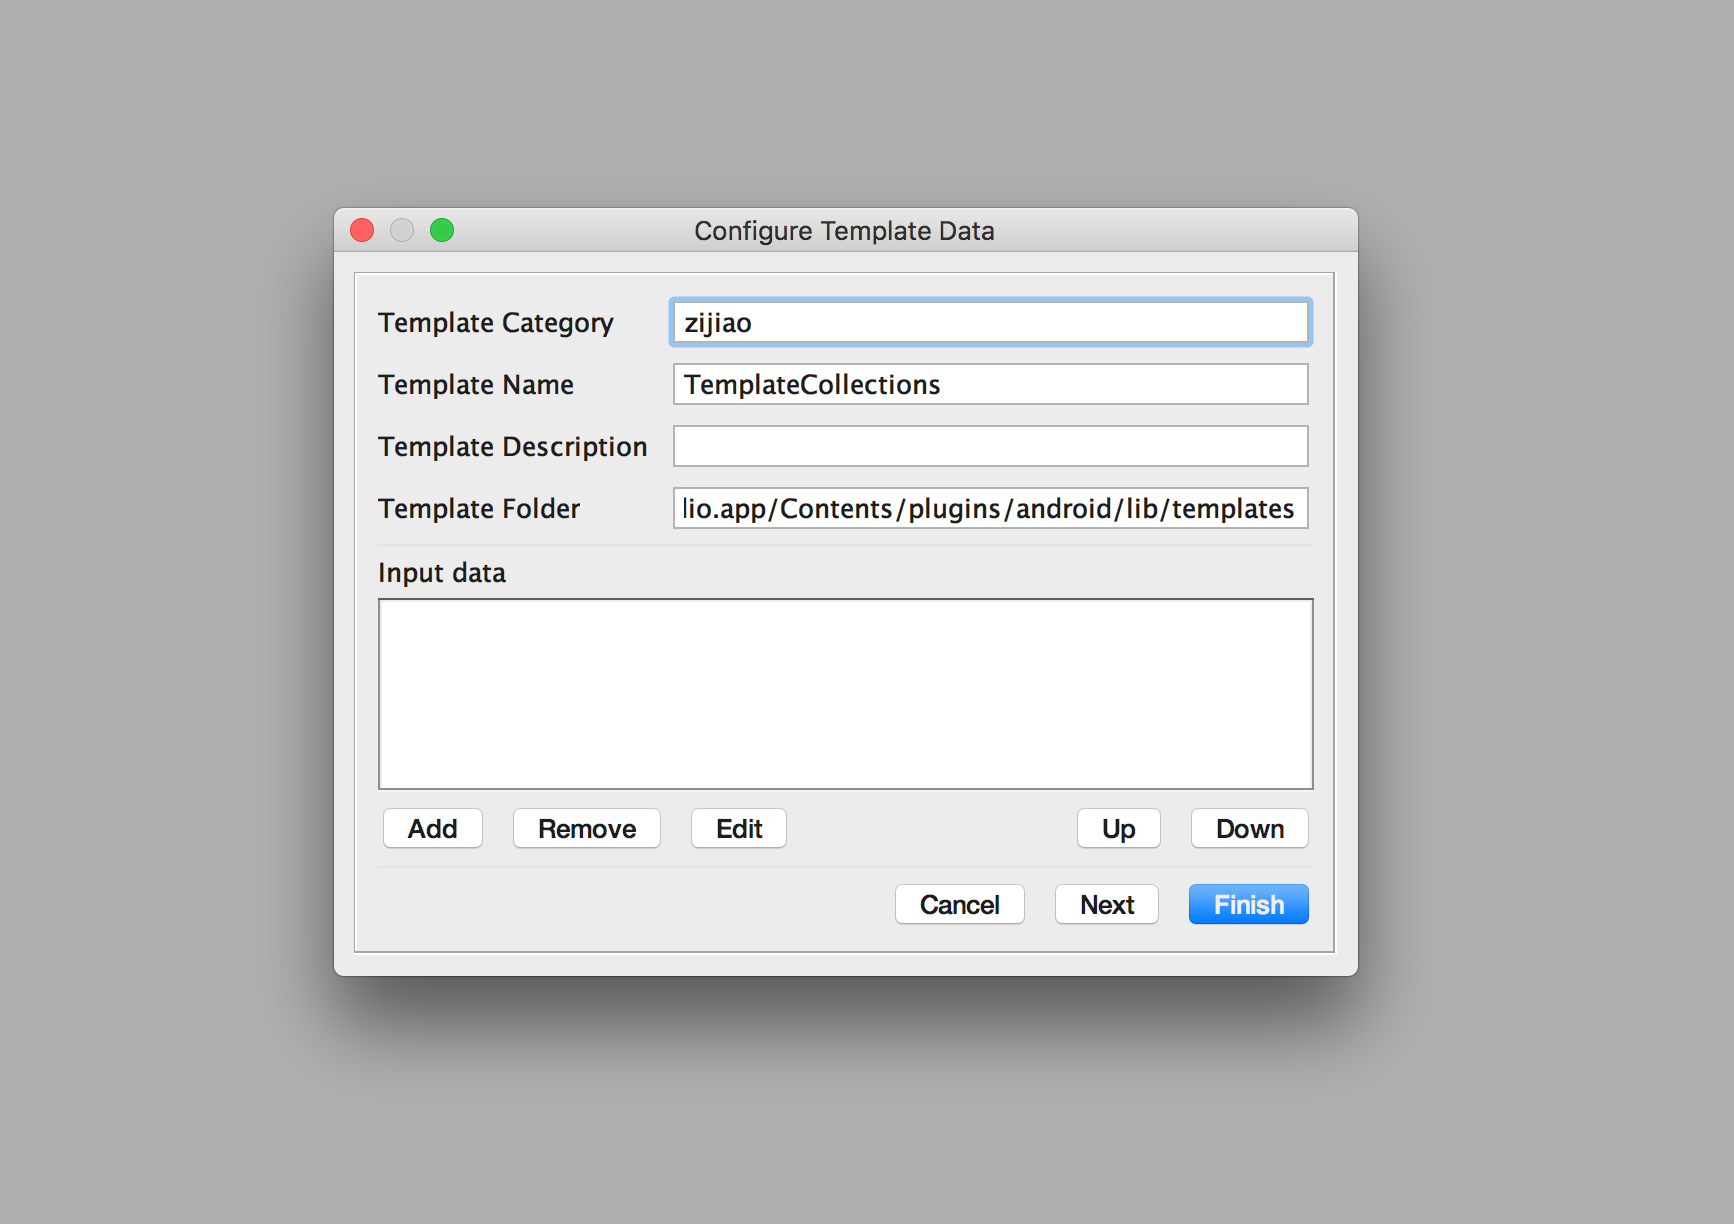
Here to explain the corresponding content of the interface
Template CategoryCorresponding to the template classification, corresponding to select the template template when the import, where the default is the computer’s user name.Template NameCorresponding to the template name, corresponding to the template name when selecting the import template, the default is the current Project name.Template DescriptionCorresponding to the template description information, corresponding to the template when the import interface pop-up description of the text, the default is empty.Template FolderCorresponding to the location generated by the template, if the Mac operating system is the default /Applications / Android Studio.app/Contents/plugins/android/lib/templates, Windows OS, because the difference is relatively large, the default is empty, you can Configure the[Android Studio installation directory] / plugins / android / lib / templates(here only need to configure once, the plugin will automatically save the location).Input data areaIf you want to enhance the compatibility of the template will use it, it corresponds to the AS template Template.xmltag, that is, each of the following configuration items. 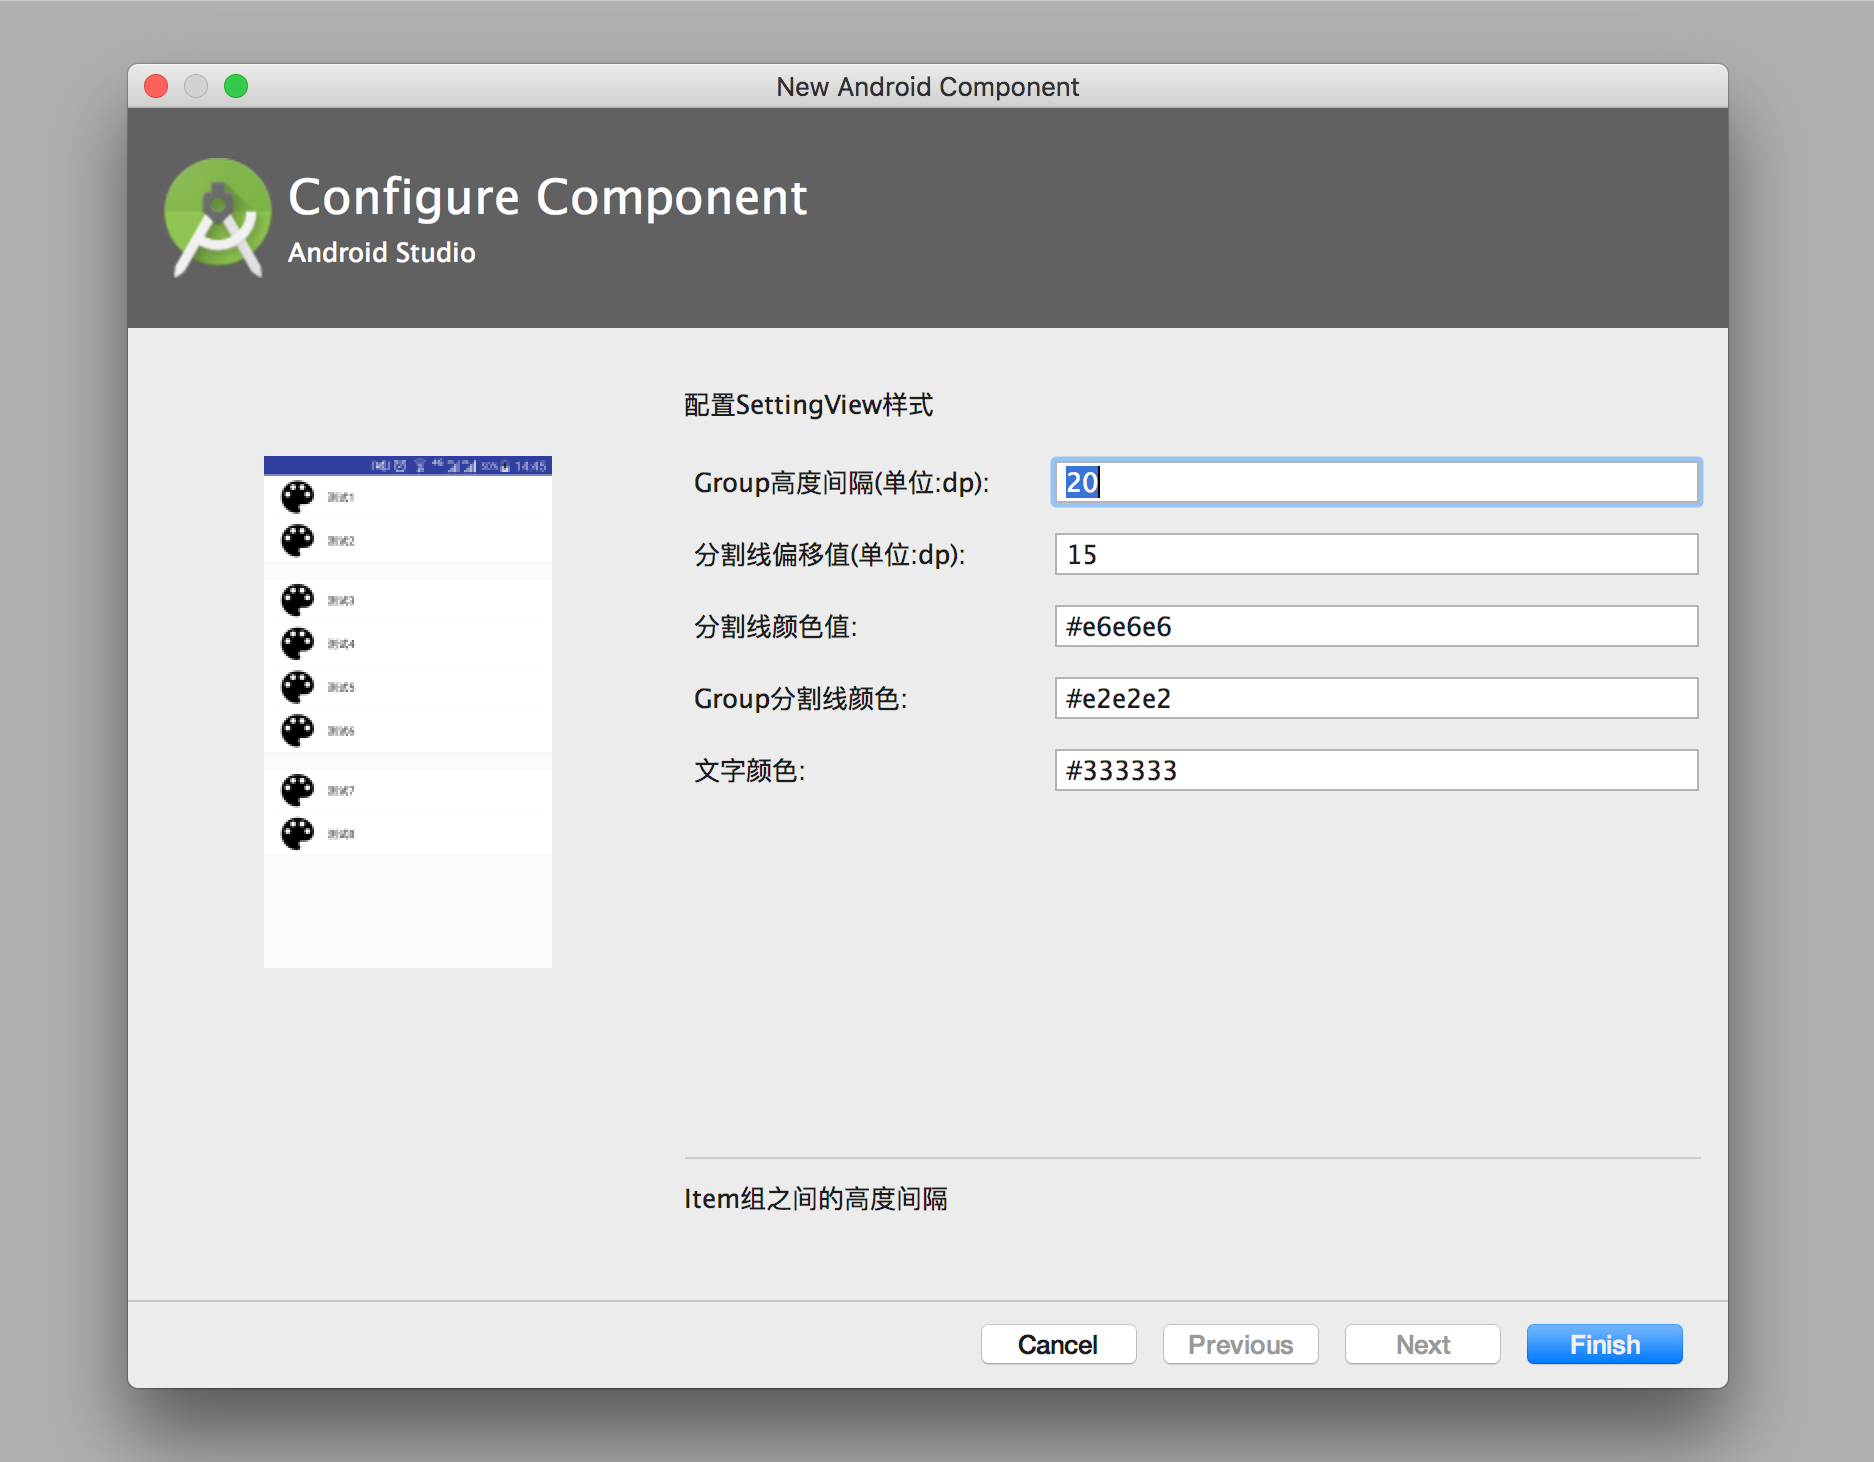
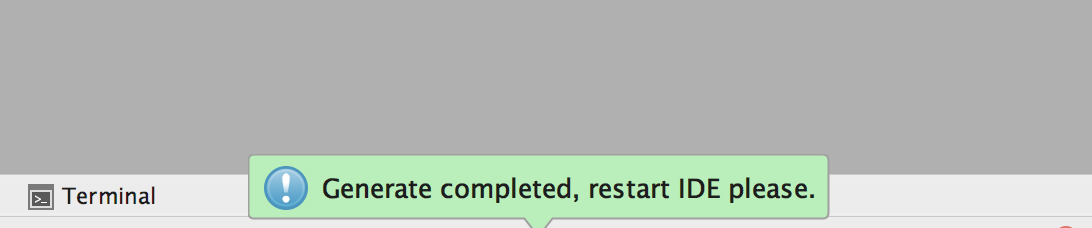
The whole UI interface is clear, if you just want to simply extract the template you write, you only need to enter the Template Name and Template Description can, of course, if you do not want to enter this can also be omitted. Then click Finish, you can see the bottom of the IDE pop-up as shown below the prompt, then you have been successful, restart the IDE to use the template.
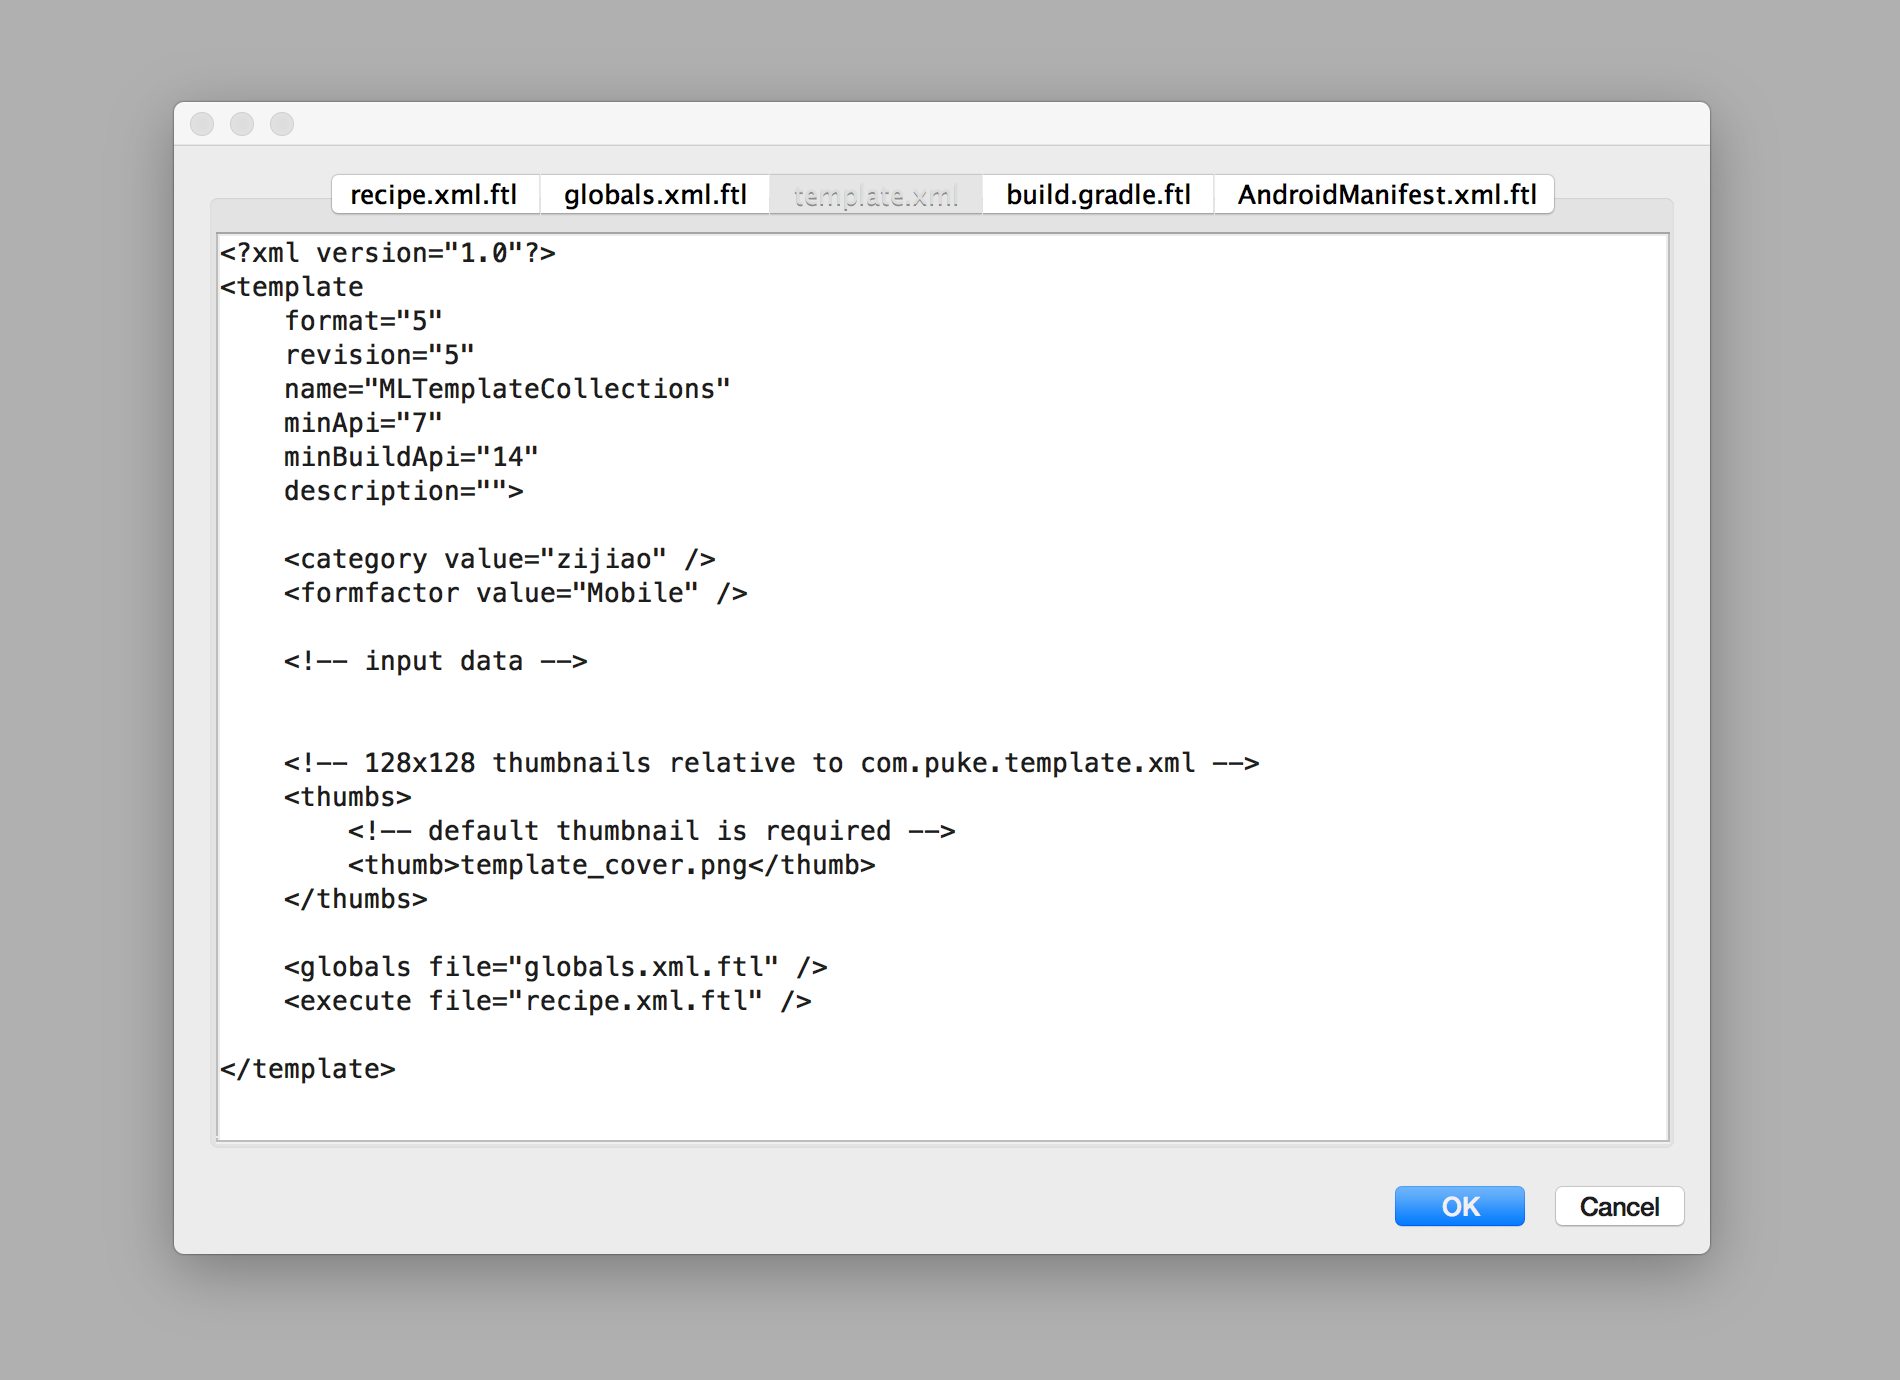
Here, if you understand the Android Studio Template production process, you may feel that compared to their own manual to do this is simple, but the flexibility to reduce a lot. For example, when there is a group dependency in the template, you need to add the corresponding dependencies in build.gradle.ftl. After importing the template, you will need to edit recipe.xml.ftl when you want to open a file automatically. In which version, you need to edit template.xml and so on. If you have this need, you can click Next to replace the Finish, click on the following you will be able to see the following interface, where you need to focus on all the configuration file editing, editing directly click OK to start automatically generated.
WHY
If you try to make your own Android Studio Template, I believe you will be for the template configuration, change the file name, add the parameters can be complicated, and so cumbersome operation and worry, because even a very simple template extraction need to put this A series of processes all go again, change several configuration files.
Say my personal feelings, when I found Android Studio Template I suddenly felt there are too many can be extracted out of the template for future rapid use, but when I first started to extract a few templates when it has been deep Disgusted, because this process is very tedious. Remember to also write groovy script to assist in the configuration of these templates, but still need to add some template to the script file entry information, still very troublesome. Later, I decided to make this process as much as possible through the automation to complete, then consider the Gradle plug-in, Java GUI, AS Plugin and other ways to complete the template production, the final choice of a quick and convenient AS Plugin, plug-in name is mentioned above To the TemplateBuilder.